
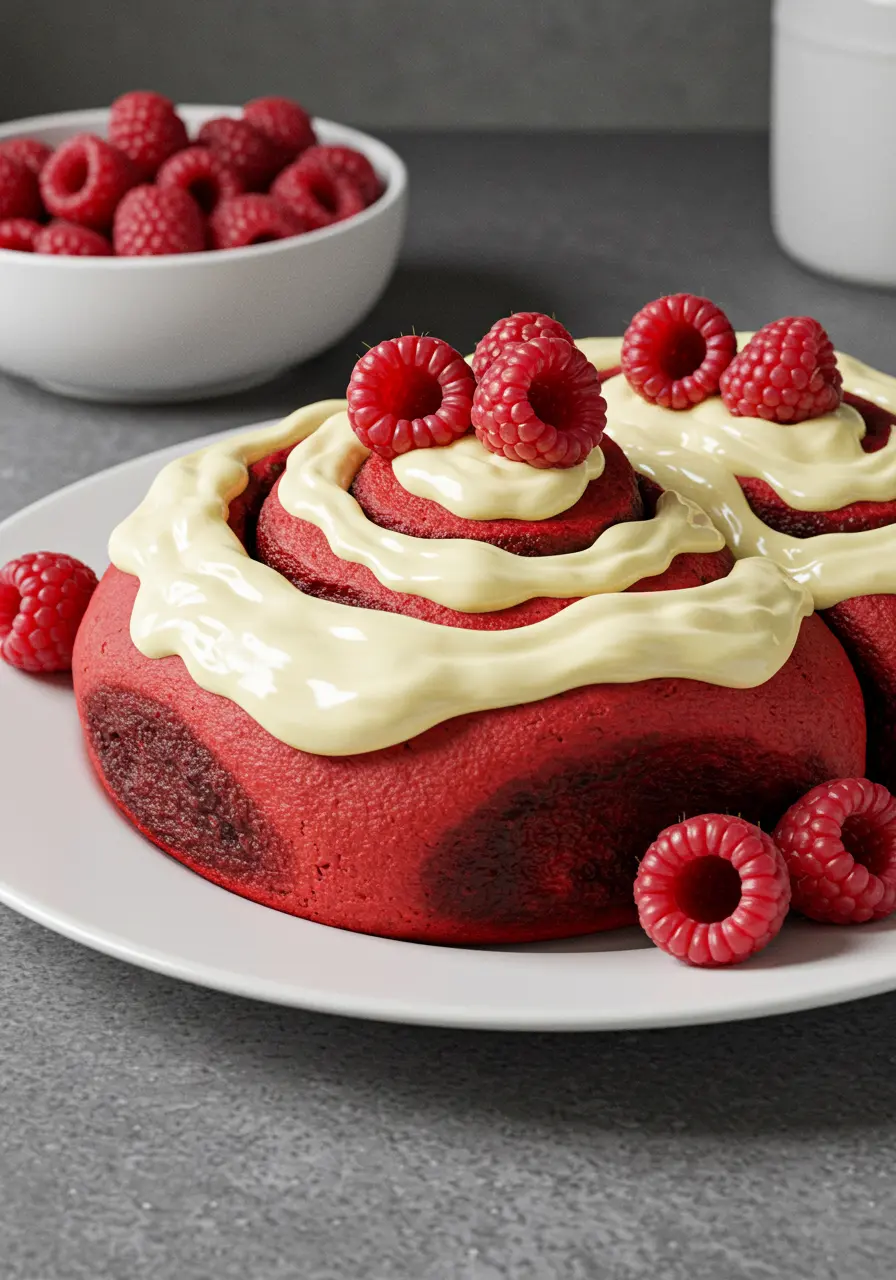
These Red Velvet Cinnamon Rolls transform your ordinary morning into something extraordinary! Picture this: tender, fluffy rolls with that signature red velvet flavor, swirled with aromatic cinnamon and topped with luscious cream cheese frosting that melts into every crevice.
From my experience perfecting breakfast pastries, I can confidently say that Red Velvet Cinnamon Rolls bring an undeniable elegance to any occasion. Whether you’re planning a romantic breakfast, celebrating an anniversary, or simply want to elevate your weekend brunch game, these rolls deliver both visual impact and incredible flavor.
The beauty of these Red Velvet Cinnamon Rolls lies in their from-scratch approach—no shortcuts or cake mix here! Just pure, homemade goodness that fills your kitchen with the most amazing aroma. Trust me, once you master this technique, you’ll never go back to store-bought again.
Why These Red Velvet Cinnamon Rolls Are Special
Get My 5 Secrets for Perfect Homemade Red Velvet Cinnamon Rolls! Want bakery-quality Red Velvet Cinnamon Rolls without the guesswork? In this comprehensive guide, I’ll share my proven techniques for achieving soft, pillowy rolls that rise beautifully every time!
Looking for more show-stopping breakfast treats? My chocolate-stuffed croissants or strawberry sweet rolls pair beautifully with these Red Velvet Cinnamon Rolls—perfect for creating an impressive brunch spread!
Table of Contents
-
Essential Ingredients for Success
-
Step-by-Step Instructions
- Professional Tips & Variations
- Complete Recipe with Measurements
Essential Ingredients for Success
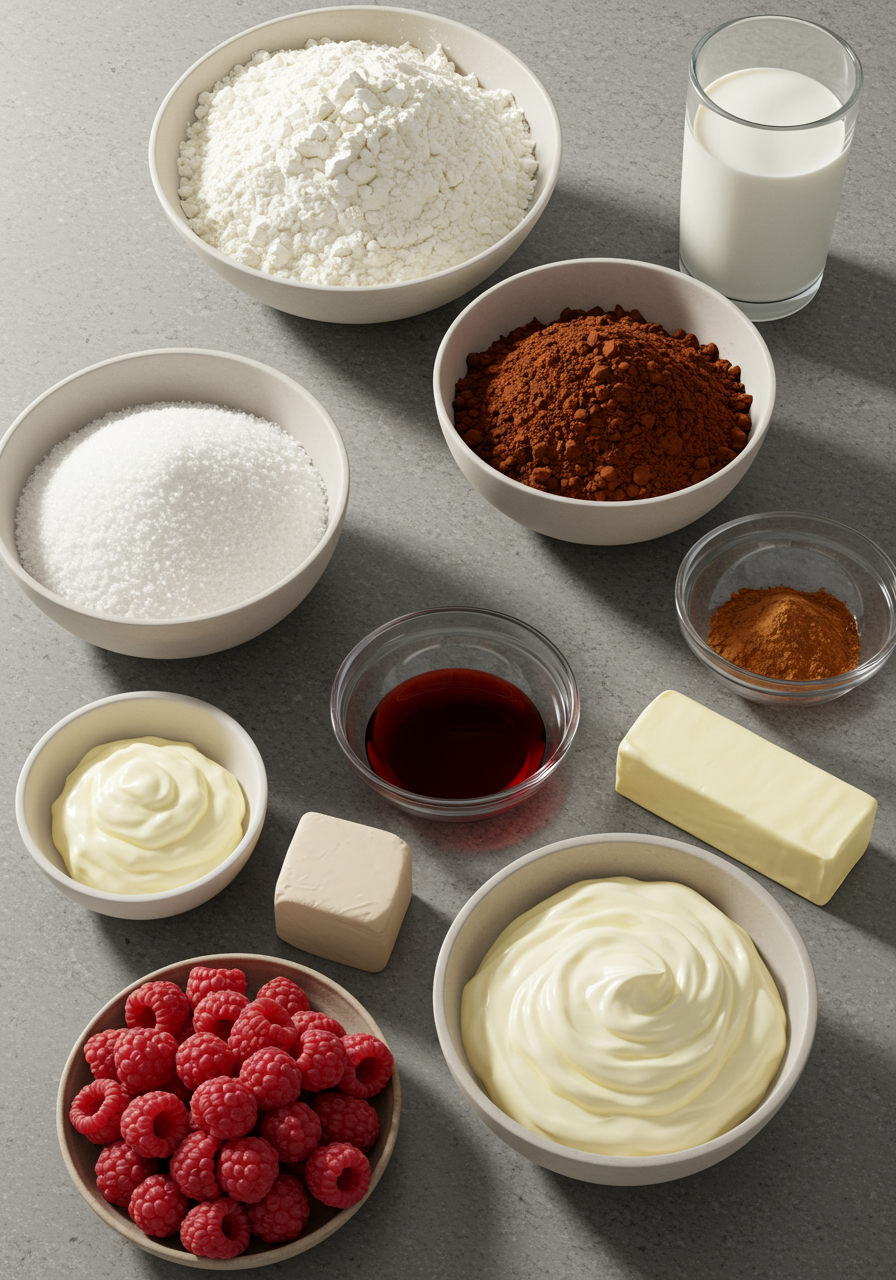
- Butter (Melted & Softened) : Used in both the dough and filling, butter brings richness and softness. When melted into the dough, it adds tenderness. In the filling, it helps the cinnamon-sugar blend stick beautifully.
- Unsweetened Cocoa Powder : A small amount of cocoa powder gives red velvet its signature subtle chocolate flavor — not overpowering, just perfectly balanced.
- Red Food Coloring : This is what gives the rolls their deep red hue. Gel food coloring works best for a bold, vibrant color without thinning your dough.
- Whole Milk (Warm) : Warm milk activates the yeast and creates a pillowy, moist dough. It also enhances flavor and structure better than water.
- Egg : enriches the dough, adds moisture, and helps it rise higher and softer — essential for bakery-style cinnamon rolls.
- Brown Sugar : in the filling gives that rich, caramel-like flavor that defines every good cinnamon roll. The molasses notes pair beautifully with the cocoa in the dough.
- Ground Cinnamon : This warming spice provides the nostalgic cinnamon roll aroma and depth. Use a high-quality cinnamon for best results.
- Cream Cheese : Tangy, smooth, and slightly salty — it’s the backbone of the frosting. It balances the sweetness and gives that luscious, melt-in-your-mouth topping.
- Powdered Sugar : For a silky frosting texture, powdered sugar blends perfectly into the cream cheese without grittiness.
- Fresh Raspberries : Sweet-tart and vibrant, raspberries add a pop of color and brightness that contrasts beautifully with the rich frosting and warm rolls.
Step-by-Step Instructions for Red Velvet Cinnamon Rolls
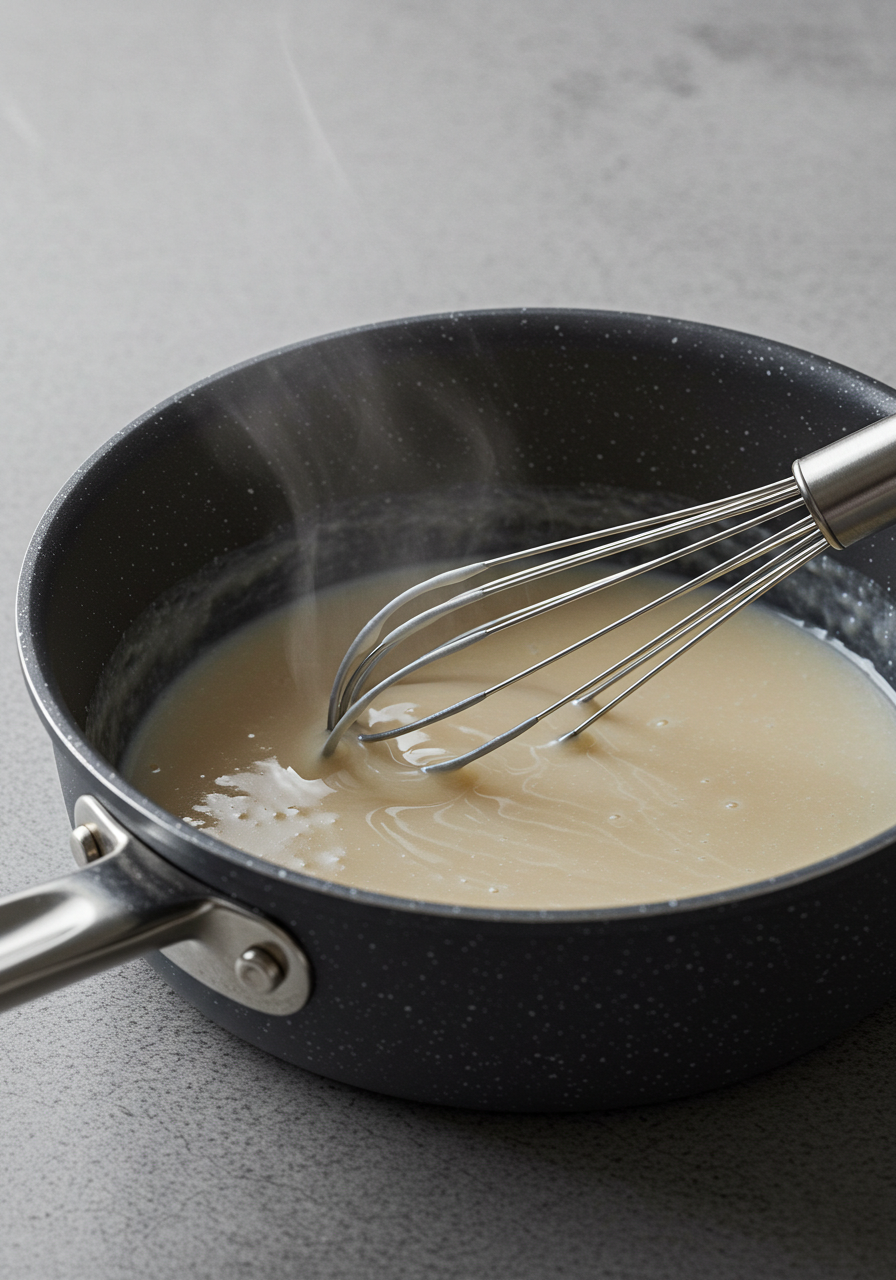
1. Prepare the Starter Base
Creating a flour paste (tangzhong) is the secret weapon for ultra-soft Red Velvet Cinnamon Rolls. This Japanese technique pre-cooks a portion of flour with liquid, creating a gel that locks in moisture and extends freshness.
2. Build the Dough Foundation
Combine your dry ingredients first—this ensures even distribution of cocoa powder and yeast in your Red Velvet Cinnamon Rolls. The key is using a stand mixer with a dough hook; hand-kneading red velvet dough is particularly challenging due to the cocoa content.
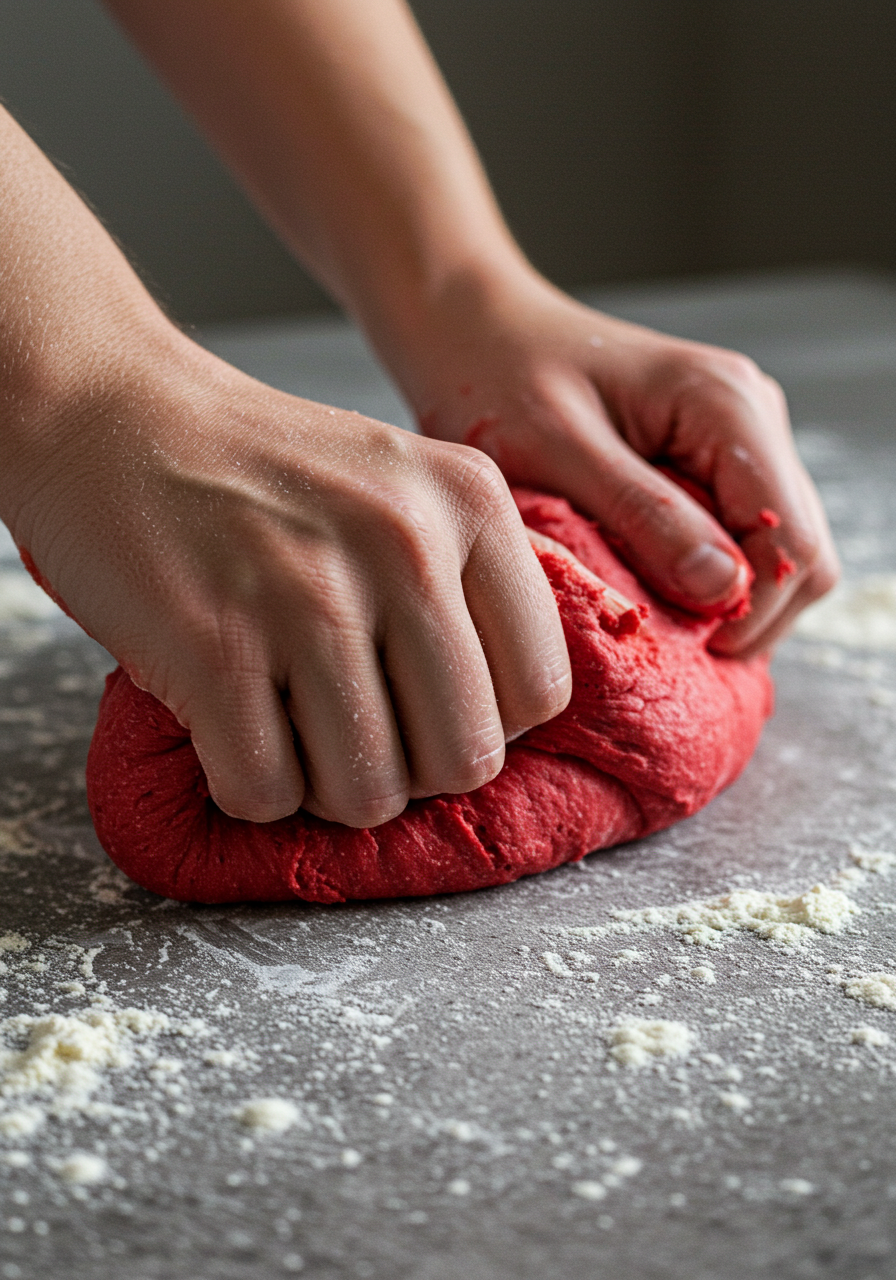
3. Form the Initial Dough
Mix wet and dry ingredients until they form a shaggy, somewhat rough-looking dough. Don’t worry if it appears dry at first—this is completely normal and expected at this stage of making Red Velvet Cinnamon Rolls.
4. Incorporate the Butter Gradually
Add softened butter incrementally, allowing each addition to fully integrate before adding more. This gradual process ensures proper gluten development and prevents the dough from becoming greasy in your Red Velvet Cinnamon Rolls.
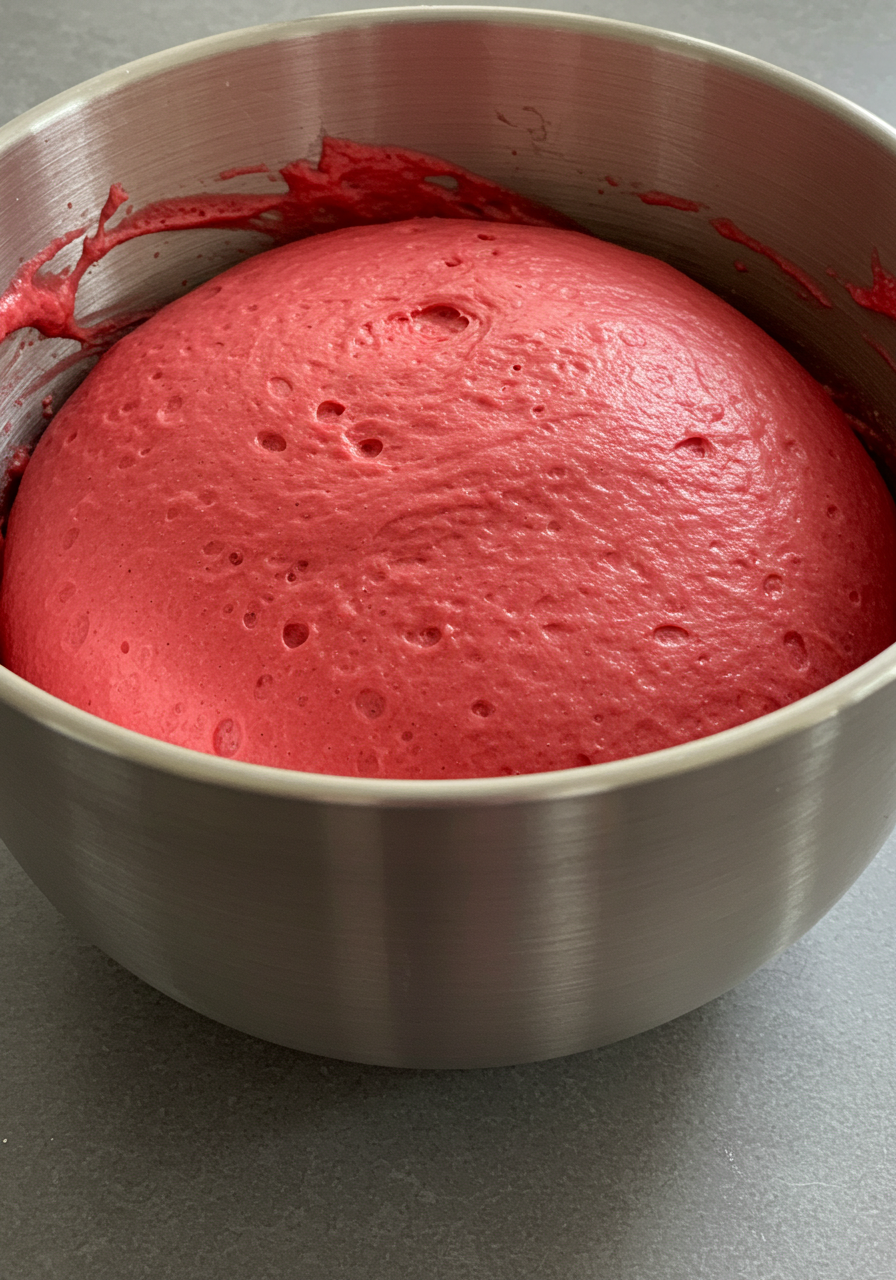
5. Allow Proper Rest Time
Cover your dough and let it rest undisturbed. This resting period allows gluten strands to relax, making the rolling process much easier and preventing tough, chewy Red Velvet Cinnamon Rolls.
6. Roll to Perfect Dimensions
Use a rolling pin to create a large rectangle—approximately 15×21 inches. Consistent thickness ensures even baking and uniform roll sizes for your Red Velvet Cinnamon Rolls.
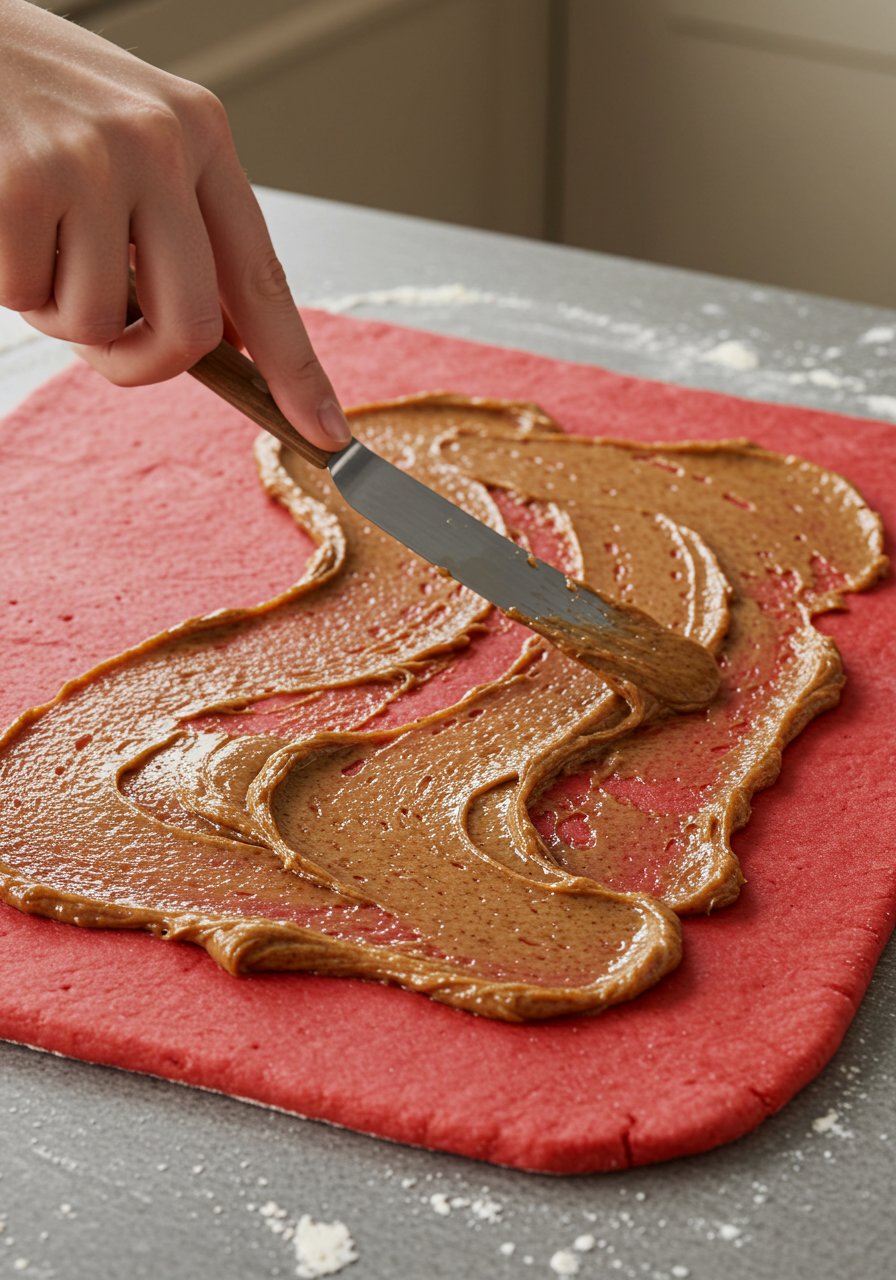
7. Apply the Cinnamon Filling
Spread your cinnamon-sugar mixture evenly across the entire surface, reaching all edges. Even distribution is crucial for consistent flavor in every bite of your Red Velvet Cinnamon Rolls.
8. Master the Rolling Technique
Here’s my professional tip: instead of rolling the entire log at once, cut the dough into individual strips first, then roll each strip. This technique guarantees perfectly round, uniform Red Velvet Cinnamon Rolls every time.
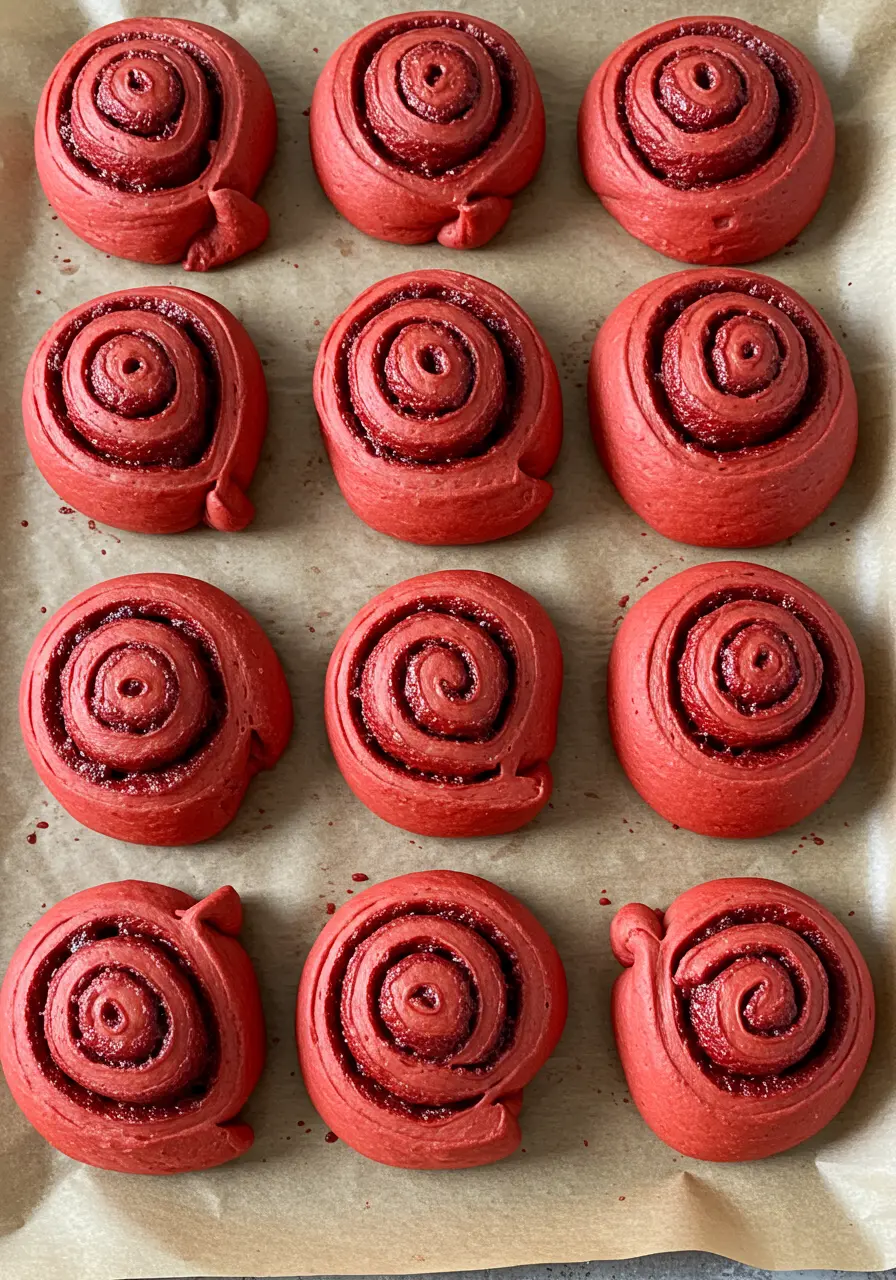
9. Arrange for Optimal Rising
Place Red Velvet Cinnamon Rolls in your baking pan with adequate spacing—they need room to expand during the final rise. Overcrowding leads to misshapen rolls that bake unevenly.
10. Perfect the Second Rise
Allow 1-2 hours for proper doubling. Cold kitchens require patience—never rush this process by using artificial heat, as it compromises flavor development in your Red Velvet Cinnamon Rolls.
11. Prepare the Signature Frosting
Cream cheese frosting is the crown jewel of Red Velvet Cinnamon Rolls. Achieve the perfect consistency by ensuring all ingredients are at room temperature before mixing.
12. Apply Frosting at the Right Moment
Frost the Red Velvet Cinnamon Rolls while they’re still warm (but not hot). This allows the frosting to slightly melt and seep into the rolls, creating that bakery-style gooey texture.
Professional Tips & Variations for Red Velvet Cinnamon Rolls
Flour Selection: Bread flour provides superior structure and chewiness in Red Velvet Cinnamon Rolls, but all-purpose flour works as a substitute if necessary. The protein content in bread flour creates better gluten development.
Color Consistency: Use gel food coloring for vibrant, consistent red color in your Red Velvet Cinnamon Rolls without adding excess liquid to your dough. Liquid coloring can affect dough consistency.
Make-Ahead Options: Prepare Red Velvet Cinnamon Rolls through the shaping stage, then refrigerate overnight. Allow extra rising time when baking from cold.
Flavor Enhancements: Add white chocolate chips to the filling for extra indulgence in your Red Velvet Cinnamon Rolls, or incorporate a hint of almond extract for complexity.
Print
Red Velvet Cinnamon Rolls
Description
These Red Velvet Cinnamon Rolls with Cream Cheese Frosting represent the perfect marriage of classic comfort food and elegant presentation. The tender, cocoa-kissed dough paired with aromatic cinnamon filling creates a symphony of flavors that’s simply irresistible.
Ingredients
For the Tangzhong Base:
- 1/4 cup bread flour
- 3/4 cup water
For the Red Velvet Dough:
- 1/3 cup whole milk, room temperature
- 1/3 cup heavy cream, room temperature
- 1 tablespoon white vinegar
- 3 2/3 cups bread flour
- 1/3 cup granulated sugar
- 1 1/2 tablespoons cocoa powder
- 2 teaspoons instant yeast
- 1 teaspoon fine sea salt
- 1 large egg, room temperature
- 1 teaspoon vanilla extract
- Prepared tangzhong
- 1/2–1 teaspoon red gel food coloring
- 6 tablespoons unsalted butter, room temperature
For the Cinnamon Filling:
- 1/2 cup unsalted butter, room temperature
- 2/3 cup light brown sugar, packed
- 1 tablespoon ground cinnamon
- 2 teaspoons cocoa powder
- 1 teaspoon vanilla bean paste
For the Cream Cheese Frosting:
- 1/2 cup unsalted butter, room temperature
- 4 ounces cream cheese, room temperature
- 1 cup powdered sugar
- 2 tablespoons heavy cream
- 1 teaspoon vanilla bean paste or extract
Instructions
- Create the tangzhong: In a small saucepan, whisk flour and water together. Cook over medium heat, whisking constantly, for 4-5 minutes until mixture becomes a thick paste. Transfer to a bowl and set aside to cool.
- Prepare the liquid mixture: Combine milk, cream, and vinegar in a small bowl. Set aside to develop.
- Mix dry ingredients: In a stand mixer bowl, combine bread flour, sugar, cocoa powder, yeast, and salt until evenly distributed.
- Form the dough: Add the milk mixture, egg, vanilla, cooled tangzhong, and red food coloring to the flour mixture. Using the dough hook, mix on low speed for 2 minutes until a shaggy dough forms.
- Incorporate butter: Add softened butter gradually, 1/2 tablespoon at a time, allowing each addition to fully incorporate before adding more.
- Knead to perfection: Continue kneading for 8-10 minutes until dough becomes smooth and elastic.
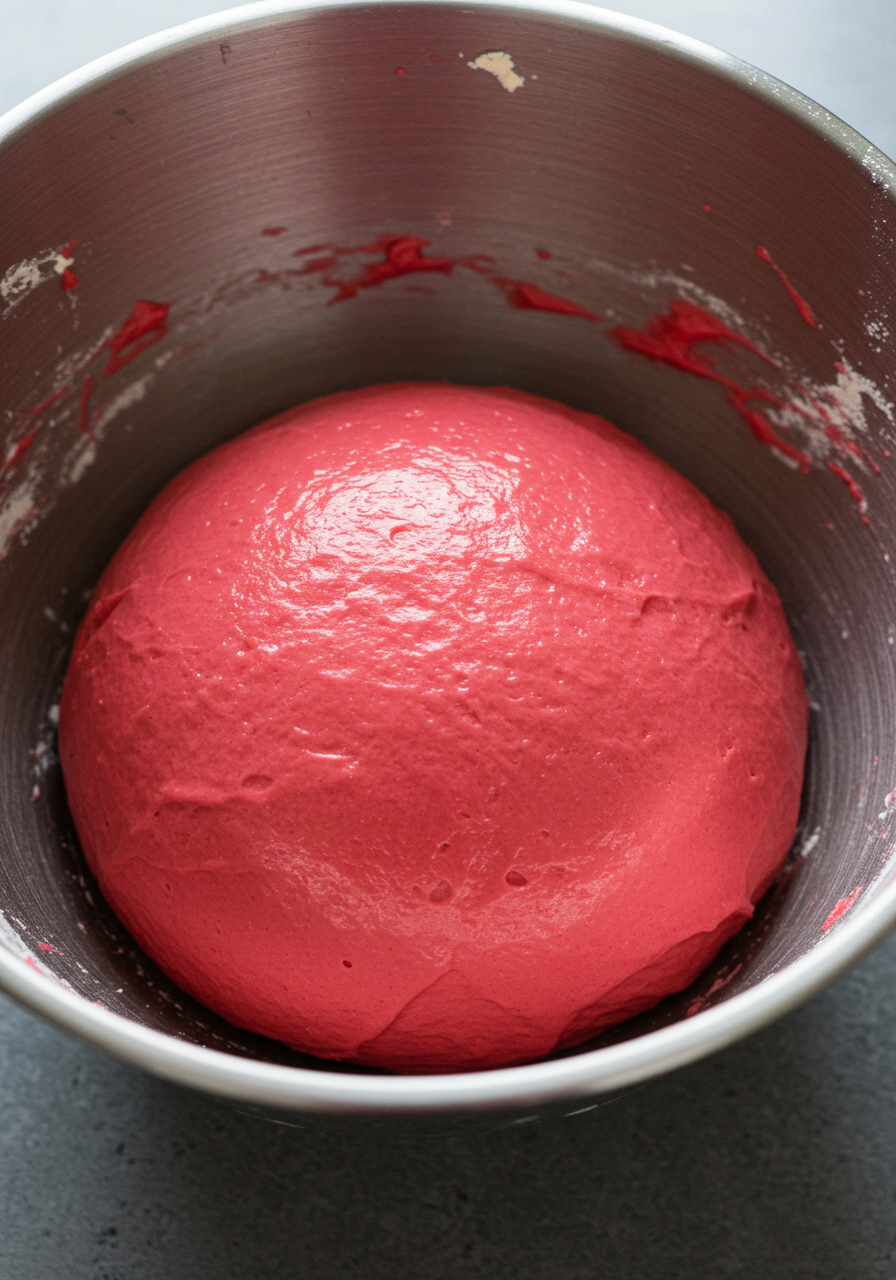
- First rise: Shape dough into a smooth ball, place in bowl, cover with plastic wrap, and rest for 30 minutes.
- Prepare filling: Combine butter, brown sugar, cinnamon, cocoa powder, and vanilla bean paste until smooth and well-mixed.
- Prepare pan: Line a 9×13 metal baking pan with parchment paper.
- Roll and fill: On a lightly floured surface, roll dough into a 15×21-inch rectangle. Spread filling evenly to edges using an offset spatula.
- Shape the rolls: Cut dough into twelve 1 3/4-inch strips using a pizza cutter. Roll each strip tightly and place in prepared pan.
- Final rise: Cover with plastic wrap and let rise in a warm place for 1-2 hours until doubled in size. Preheat oven to 325°F during last 30 minutes of rising.
- Bake: Bake for 28-35 minutes until internal temperature reaches 175°F-180°F.
- Make frosting: While rolls bake, combine cream cheese and butter until smooth. Gradually add powdered sugar, beating until light and fluffy. Mix in vanilla and heavy cream.
- Finish and serve: Cool rolls on wire rack for 15 minutes, then spread frosting generously over warm rolls. Let sit another 15 minutes for frosting to set slightly before serving.
Notes
The cream cheese frosting adds the perfect tangy contrast to the sweet rolls, while the signature red velvet color makes these treats as visually stunning as they are delicious. Whether you’re serving them for a special occasion or treating yourself to something extraordinary, these rolls are guaranteed to impress.
Remember, the key to bakery-quality results lies in patience—allow proper rising time, use quality ingredients, and don’t rush the process. Your efforts will be rewarded with rolls that are tender, flavorful, and absolutely divine.
Prep Time: 3 hours | Cook Time: 26 minutes | Total Time: 3 hours 26 minutes Course: Dessert | Cuisine: American | Servings: 12